After
Cyanotypes were mostly used with still-life subjects. For this photograph, I used a photo of tree bark that I had taken for a previous project. I used deep depth of field while shooting this image, as I felt that the texture of the bark would stand out more. I like how the movement of the bark shows through the blue hues of cyanotype image.
Before
After
In all of my cyanotype pictures, I chose to use a darker blue. I wanted to give my own spin on the cyanotyope pictures. I also felt that the bright blue didn't work with my images as well. The bright blue is not as aesthetically pleasing to me as the navy blue is. This is a picture of Mt. Adams. In addition to darkening the foothills below it, I gave the image some grain to make it look older. I felt that the grain effect paired well with the cyanotype finish.
Before
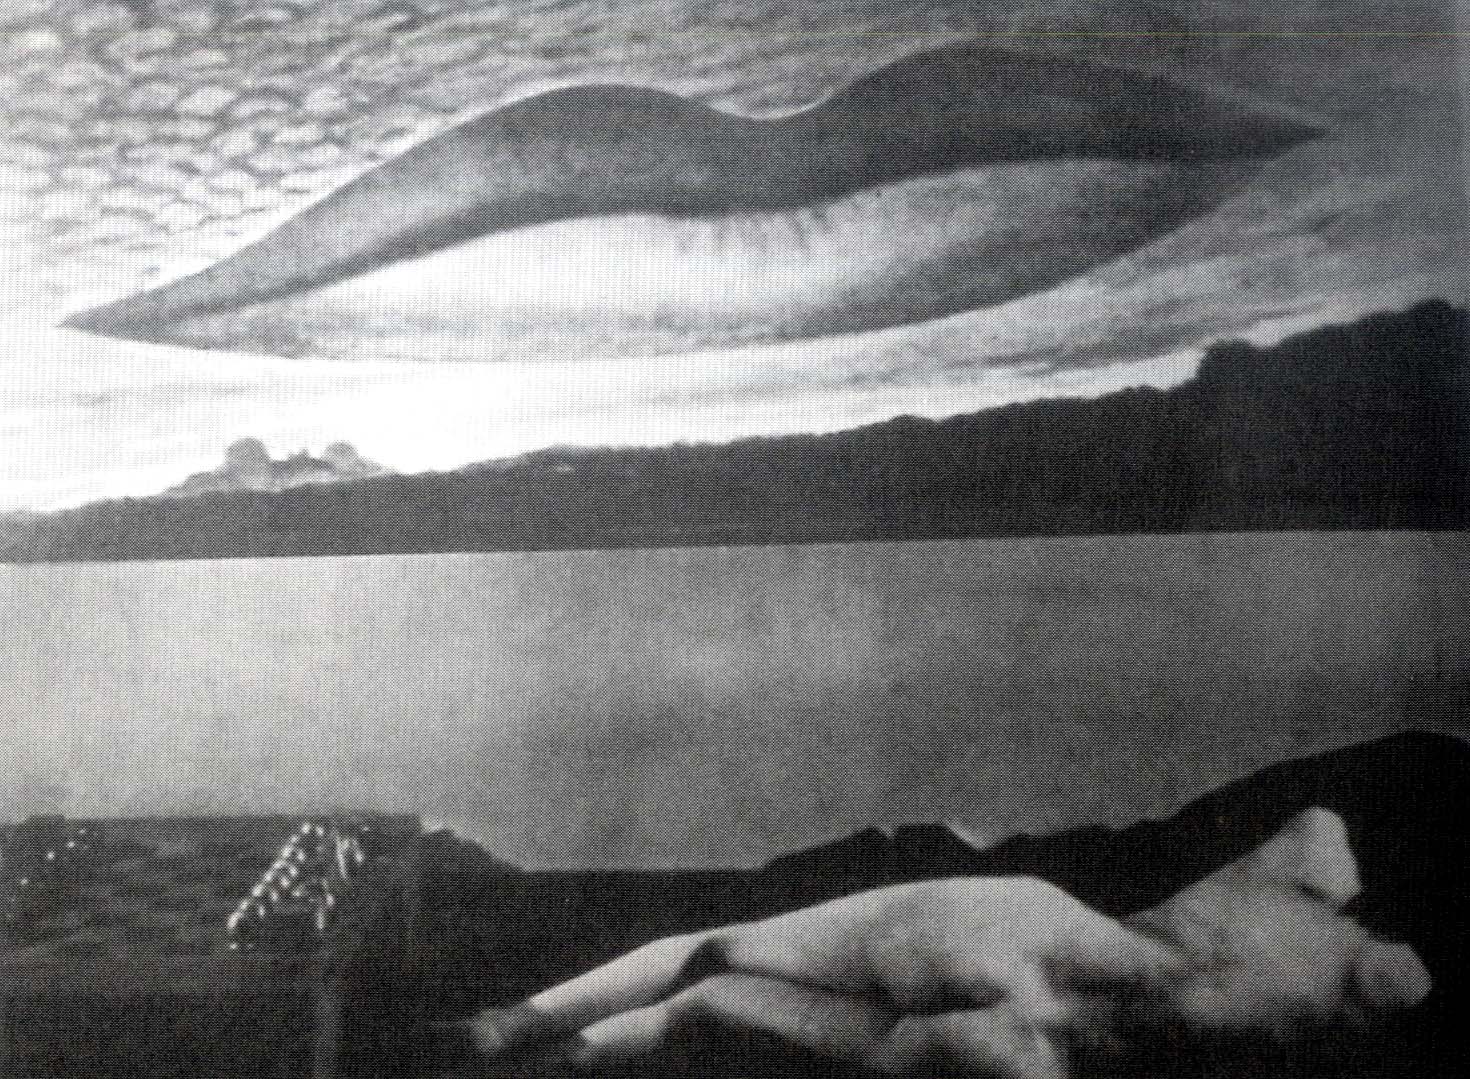
After
Historically. cyanotypes were commonly used with still life subjects. As infant mortality rate was high, families would choose to immortalize the dead by photographing them. I wanted to emulate this practice. I used a picture of my sister that I flipped so that she would be lying down. I edited the image to make her eyes look darker and give the photo a more deathly appearance. Even though the subject is dark, I am happy with the final outcome of the photo.
_________________________________________________________________________________
Daguerreotype
Before
Daguerreotypes are typically portraits, so I used a picture that I had used for my emulation final. I applied a subtle texture while editing, along with a golden-brown tint. I also wanted to implement the gold framing technique which daguerreotypes were known for. I think the frame around the photo might not fit the mood, but I wanted to see what it would look like nonetheless.
Before
After
For this second daguerreotype, I wanted to leave the frame off. I tried to give the edges a rougher look, but nothing looked right so I left it off. When editing, I wanted to give this image a more metal-like effect. I made the light part of the photo more apparent and gave it a more silvery color. I also painted over the texture I applied. The print gave the photo a distressed metal look. I came at this photo from a different angle than the first, but I think that I like my first edit more.
_________________________________________________________________________________
Gum Bichromates
Before
After
The final alternative process that I chose to try is gum bichromate. Gum bichromate photography was developed in the 1800s and typically concerned images such as landscapes, but many different subjects can be found. There is no one person who is responsible for the development of the gum bichromate process. This type of photography involves layering different colors upon one another. This is a photograph of my sister, utilizing slow shutter speed. This was my first attempt at a gum bichromate. I love the texture in the photograph, but if I was to edit this photo again, I would soften the colors, particularly the blue.
Before
After
I liked this gum bichromate edit better than the first one. This second image still has vibrant colors, but is a bit more subdued and more painterly. Gum bichromate photographs typically have watercolor-like effects. I am very happy with how this turned out. I layered bright yellow, indigo and magenta in this image. This is an image of Christmas tree lights that I blurred by used a slow shutter speed.